You probably haven’t noticed, but not everything on display in the 17th century galleries at NGV International is over three-hundred years old. This seeming anomaly is explained a little by understanding a bit about the nature of picture framing and the work of the NGV Conservation department. A recent example can be seen on David Teniers II’s large genre painting The skittle players, which returned to display in a newly constructed reproduction frame following a recent conservation treatment.
The decision to remove a frame from a painting and to replace it with a reproduction is not taken lightly. In this instance, however, it was felt that there were strong grounds for believing that the previous frame merely expressed the aesthetic preference of a single owner and was not, in fact, a well-suited choice for the composition of the painting, nor an historically accurate representation of 17th century Dutch framing practices. In a word, the previous marriage of frame and painting did not meet the test of authenticity, and as such it was agreed that the painting would benefit from being reframed in a more sympathetic and historically appropriate style. Depictions of authentic frames can be seen in the background of many 17th century paintings of Dutch interiors and these images, combined with existing scholarship about framing practices in 17th century Holland, provide us with a clear illustration of what counts as a suitable style of frame for the painting by Teniers. After reviewing all of this information it was decided that the reproduction frame should be a flat bottomed box frame constructed using traditional joinery from European oak and painted black with a gilded sight edge. The process of building the frame involved many steps and required an understanding of both modern and traditional materials and techniques.
The sequence of steps for the construction of the frame was as follows:
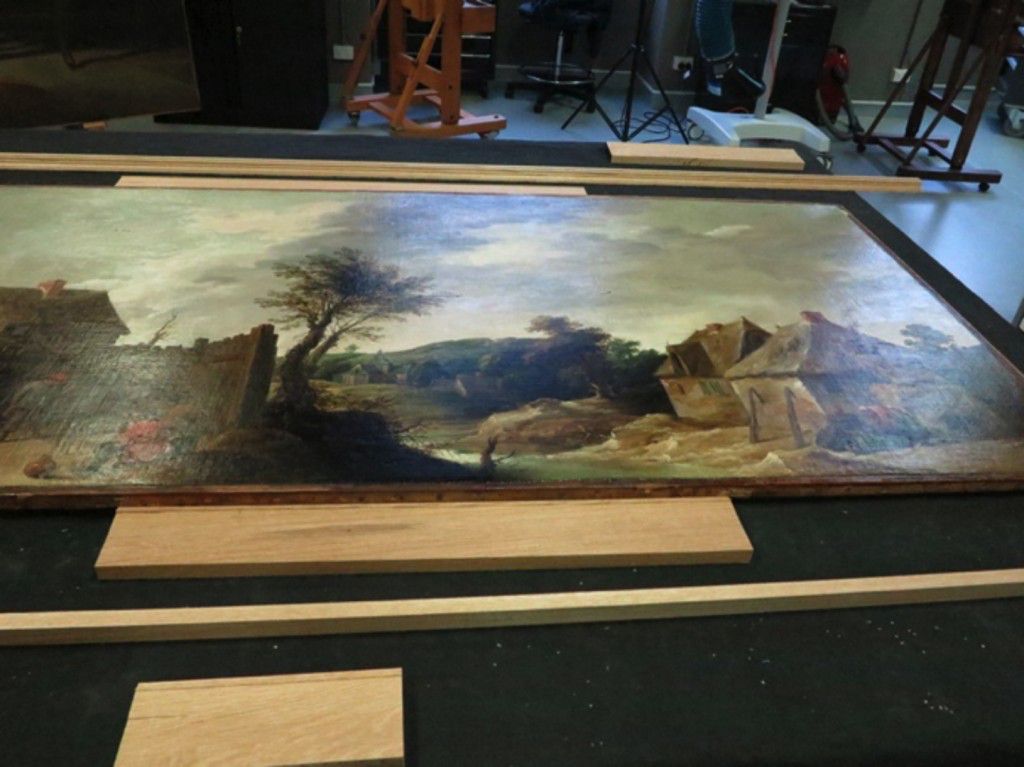
The first task was to take planks of oak and machine them to the correct size and profiles. The frame is made from two basic components, a flat section with a detailed sight edge and a half-round, moulded section that forms the shaped outer edge.

The corners of the flat section were shaped by hand to create lap joints. This was done after laying out the pieces against the painting to custom fit the frame to the dimensions of the work.

After adding the shaped outer edge to the front of the flat section, the reverse of the frame was built up with two extra sections to create the depth needed to house the painting. By adding depth to the frame’s structure the lap joints become mortise and tenon joints within the larger structure.

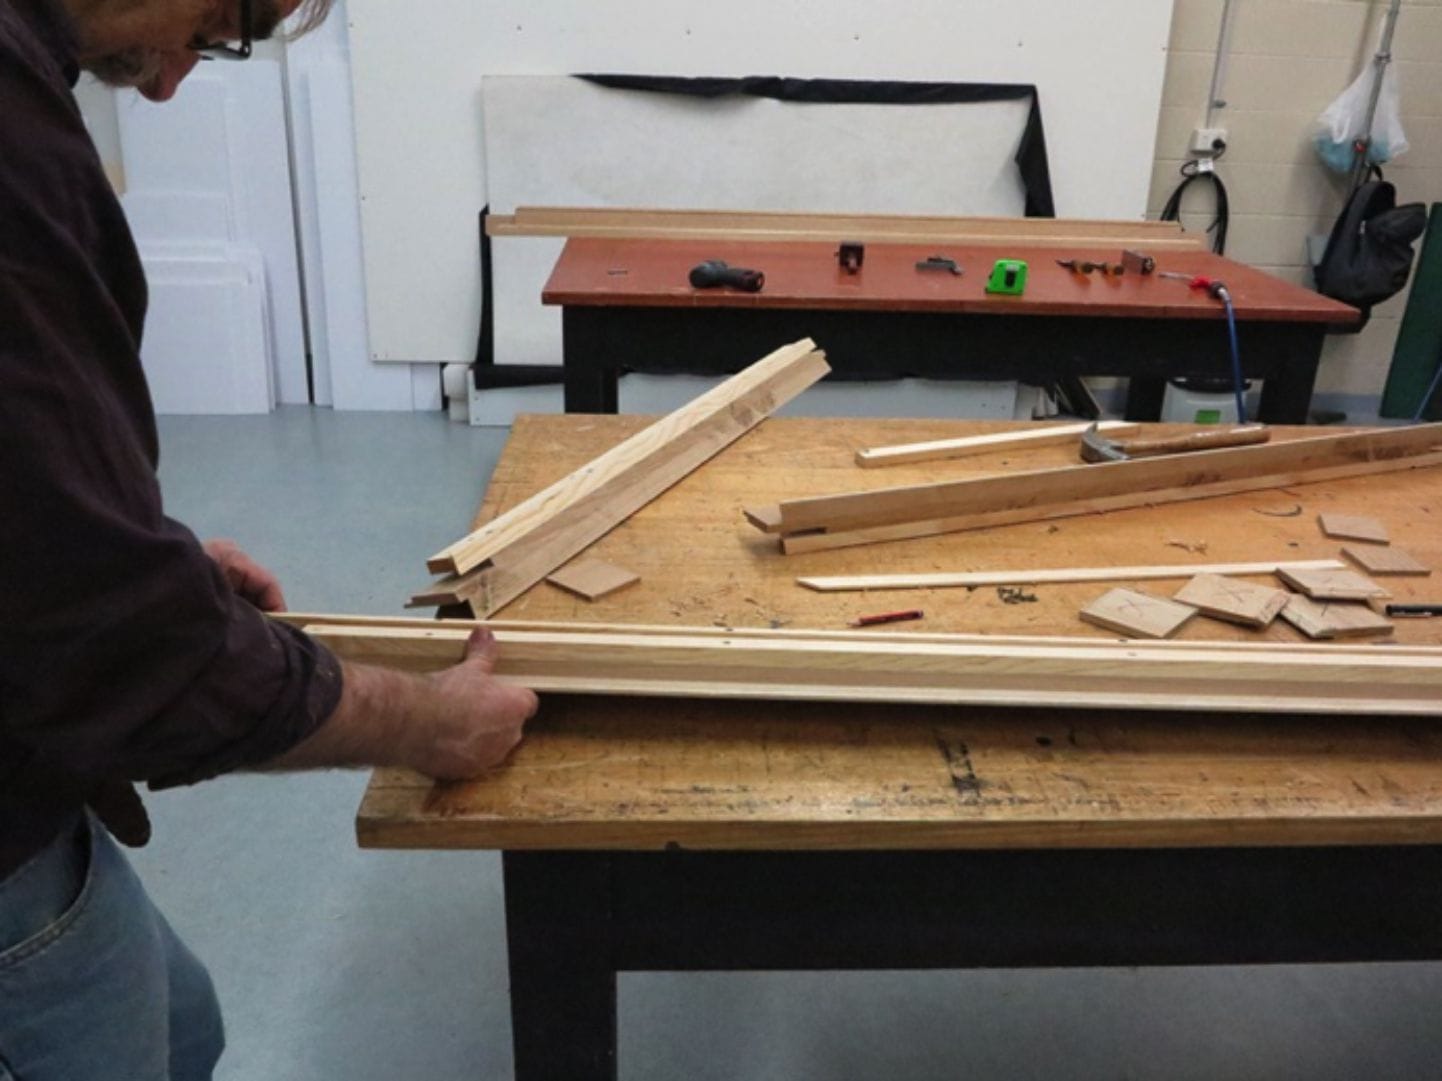
The assembled sections were then passed over a table saw to cut the bevel along the back edge.

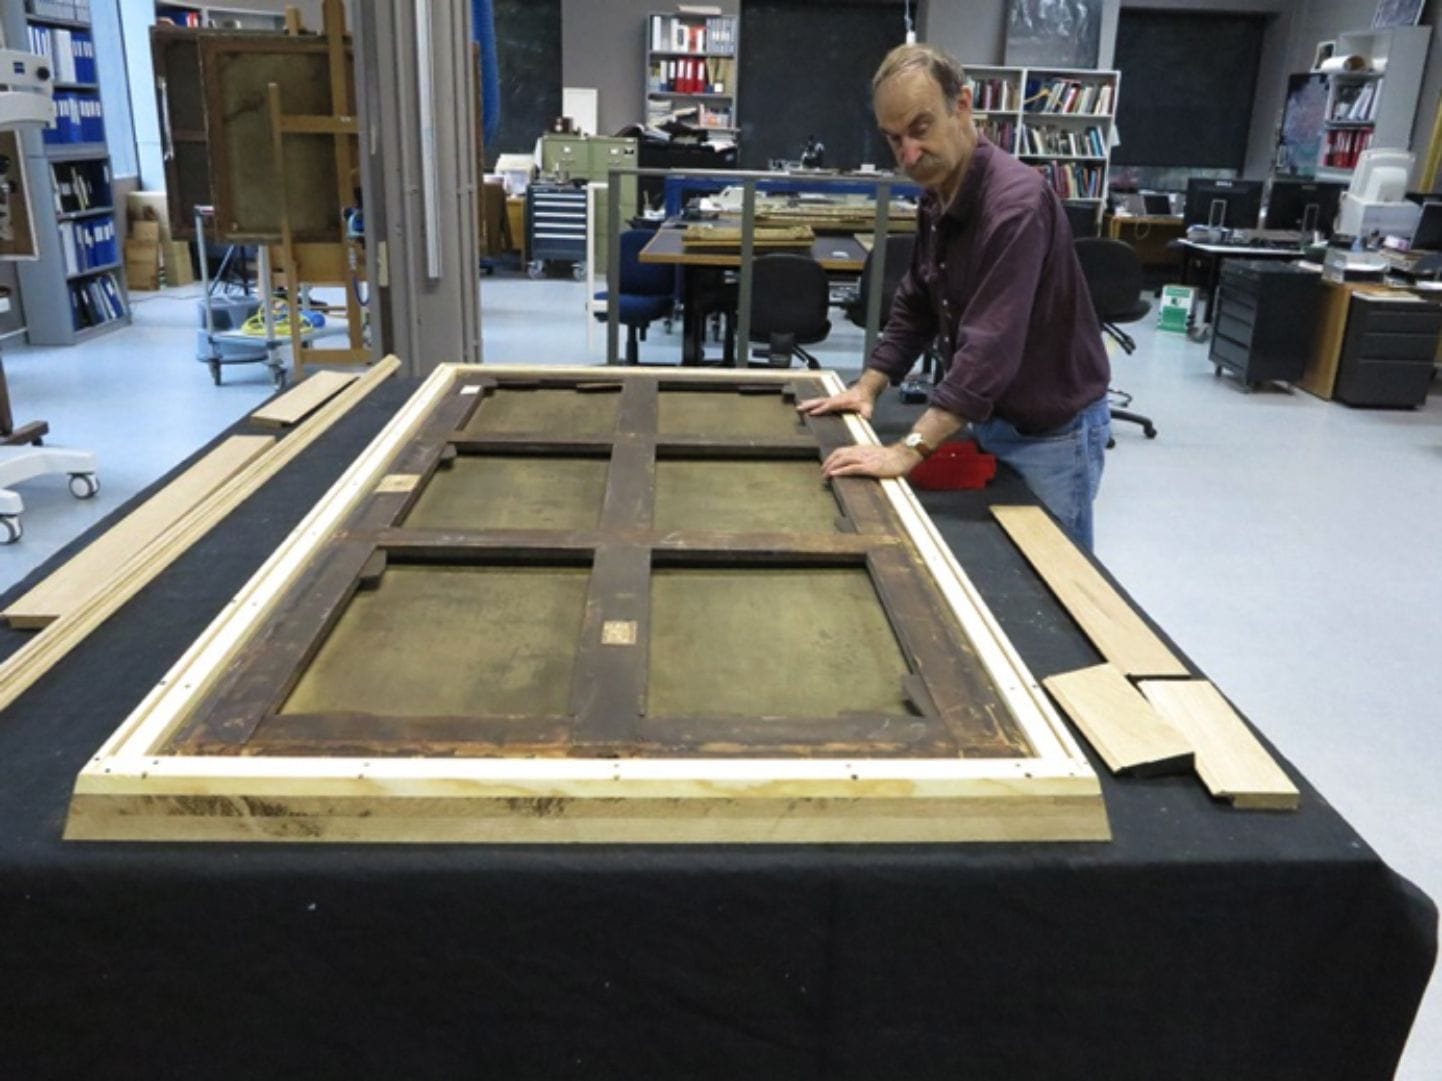
The painting was test fitted into the frame to check that everything was in the correct place with the required space and depth.


The wooden frame base was sanded and coated with animal glue size to seal the timber.
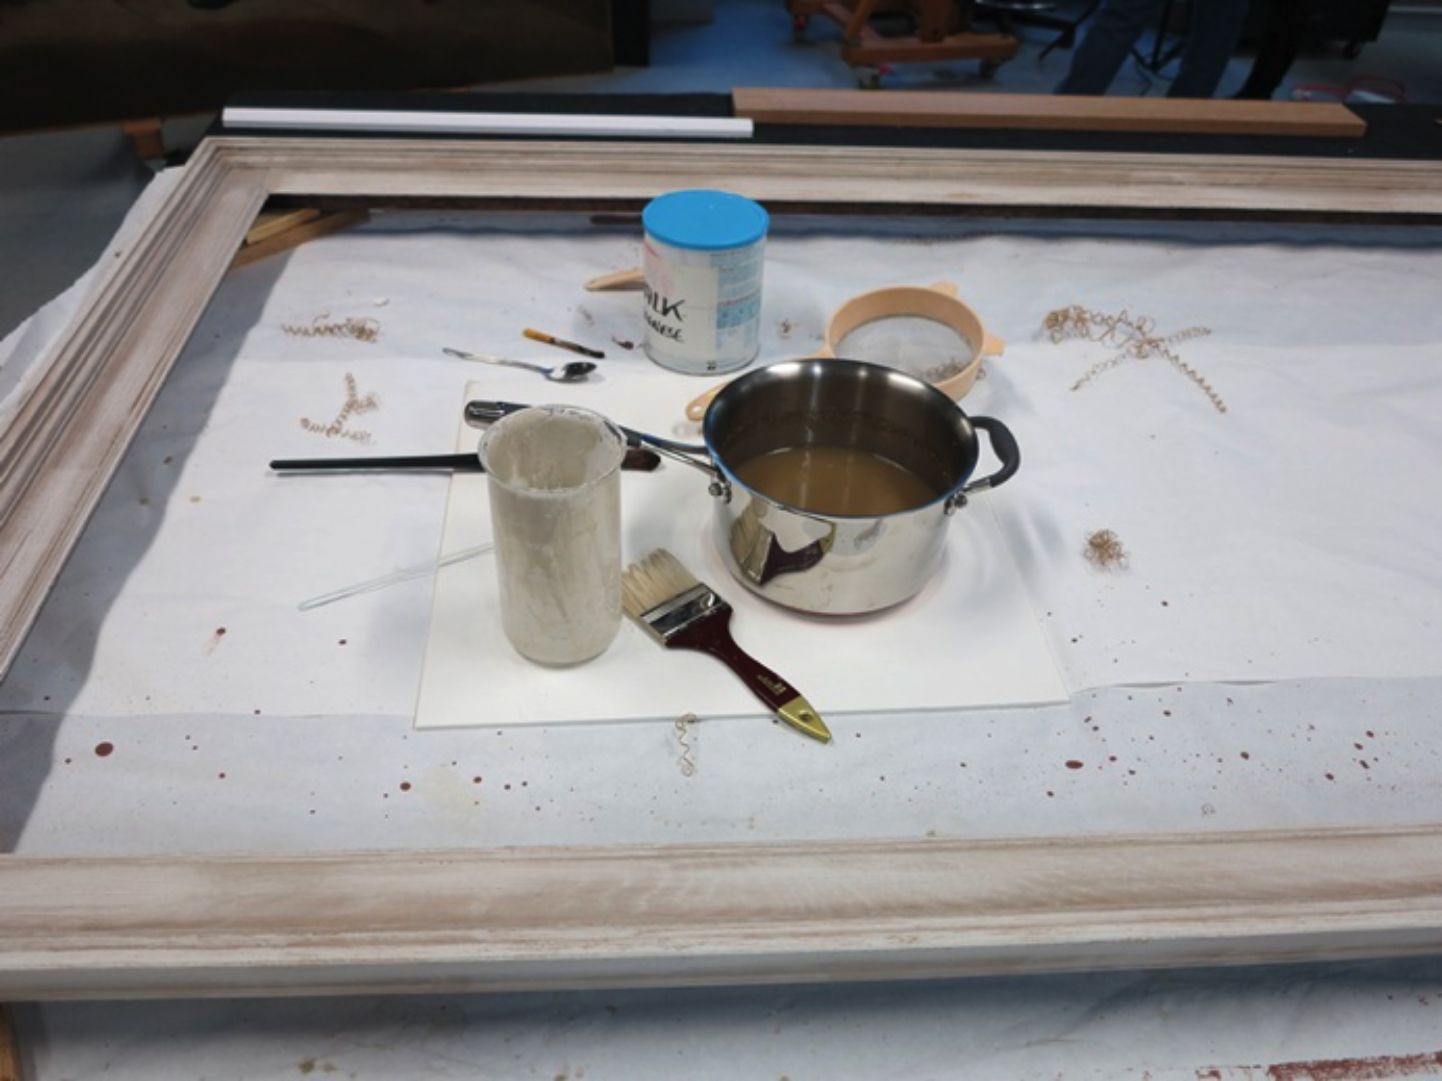
Several layers of chalk and glue, known as gesso, were applied and sanded smooth once dry.


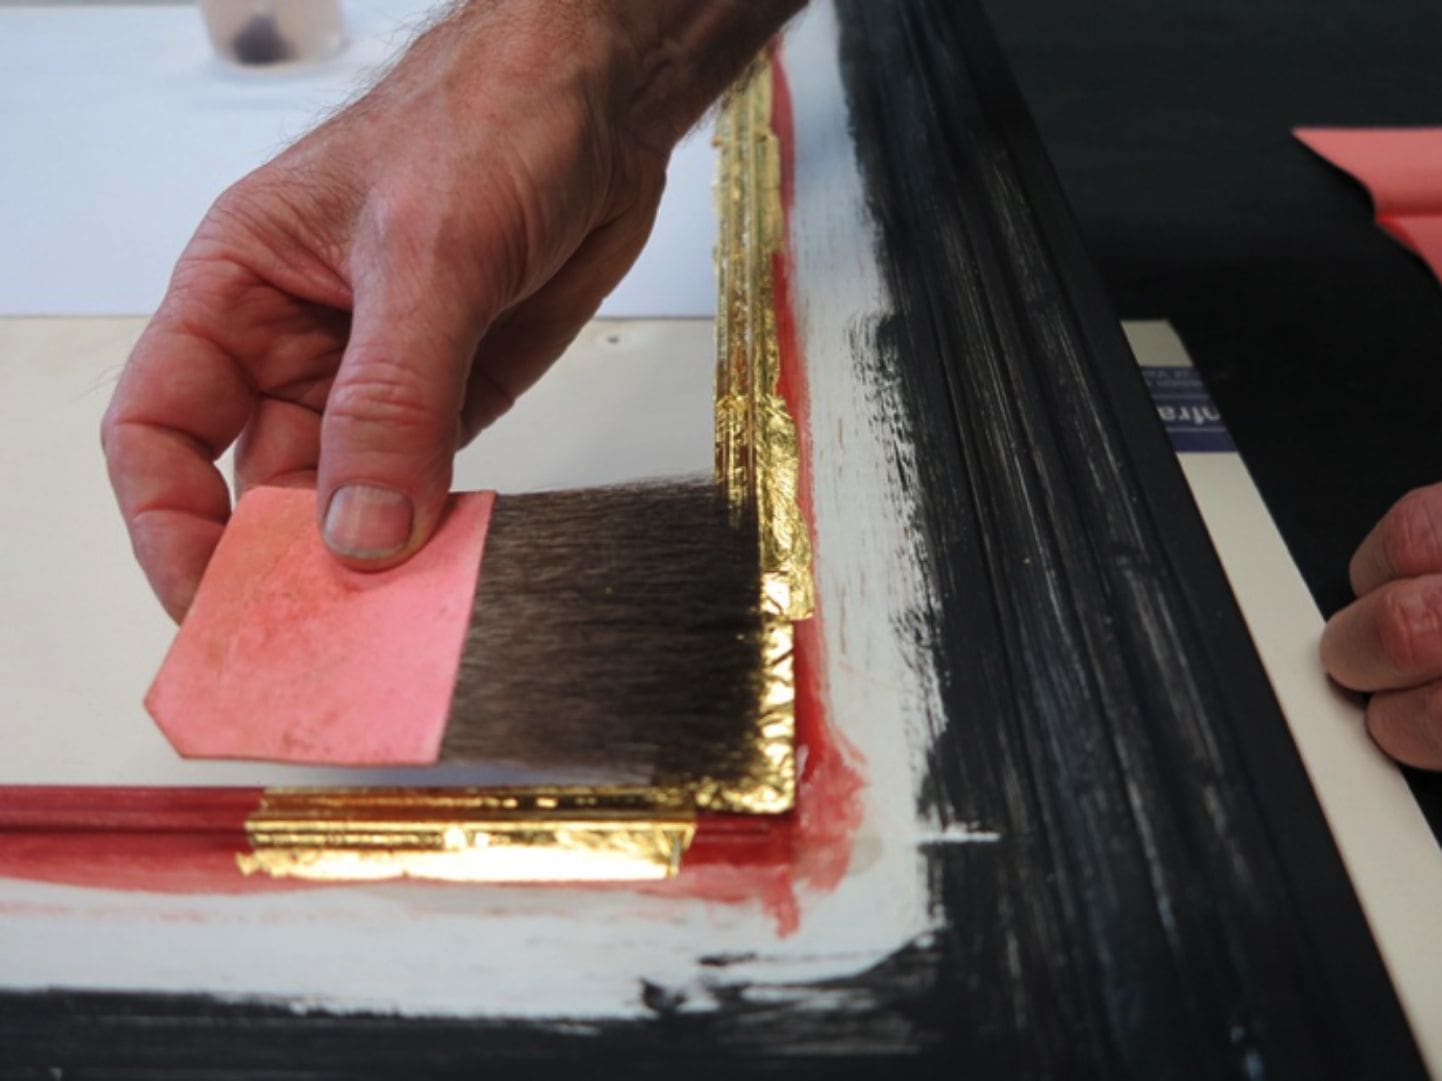
This was followed by the application of red bole on the detailed sight edge in preparation for gilding and a black distemper paint was applied to the rest of the frame.


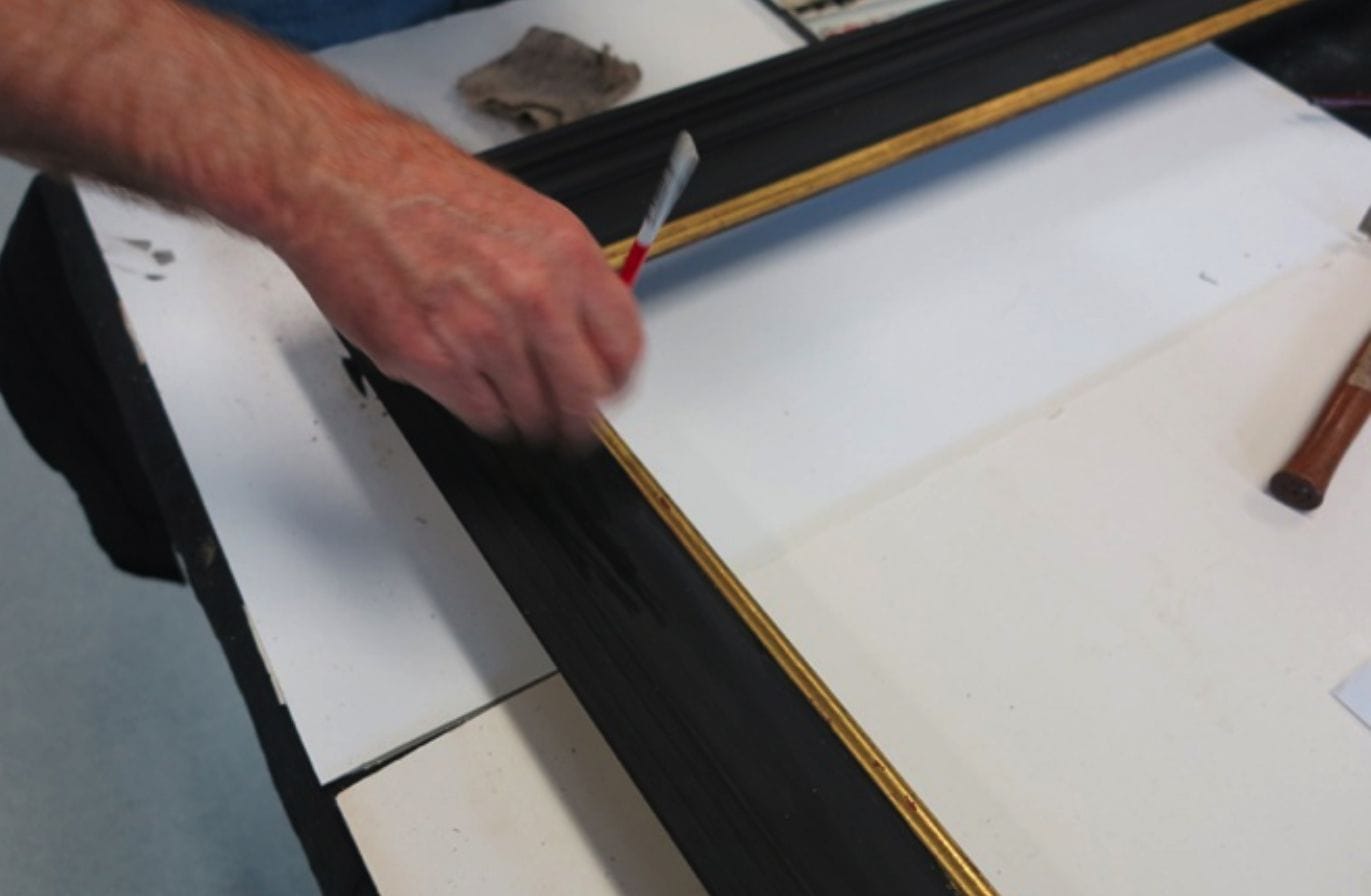
Gilding of the sight edge needed to be carried out before the black paint could be finished up to the edge of the gold.

With the gilding in place the black paint could be finished.
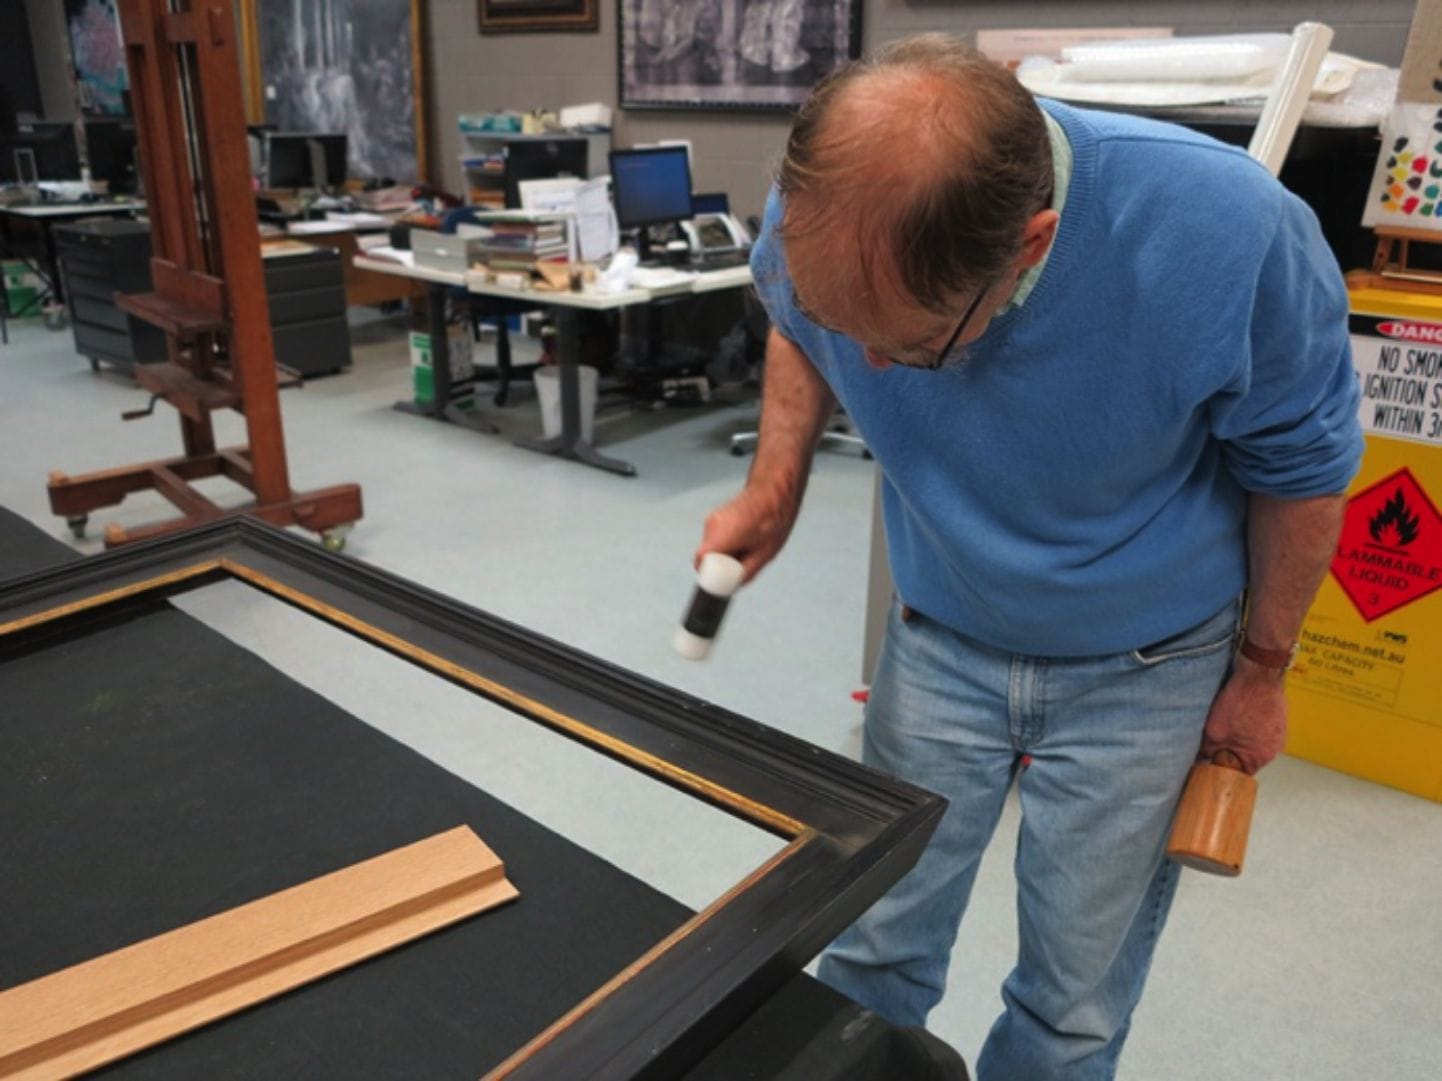
The completed frame was then taken apart at the corners to create cracks before being re-assembled. This began a process of breaking down the fresh surfaces to give a sense of harmony with the age of the painting.

The process of distressing involved rubbing back, retouching, denting and adding dust to the new surfaces to take away the sharpness of the edges and the fresh appearance of the gold.

With the distressing of the new frame complete the painting was fitted in the frame and returned to display.
My thanks to John Payne, Senior Conservator of Paintings, for letting me document this project.
This work is currently on display in the 17th Century & Flemish Paintings Gallery, Level 2, NGV International.